Hey Kidlings,
Commodore 64 here with a quick how to in photoshop. Have you ever downloaded an image you'd like to use on your website but it was sandwiched on top of some ghastly color which totally doesnt fit with your "flow"? Well here is a quick, no-frills, way to a transparent image that you can set to a background of your choosing.
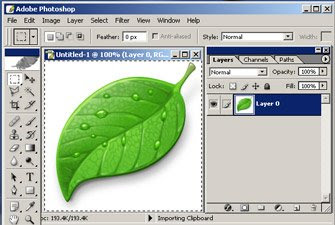
First we start with simple image of a leaf: Double click the "Background" and then hit enter when the dialog pops up. You should now have a transparency capable layer which is ready to have it's fat trimmed, the layer name should change from "Background" to "Layer 0":
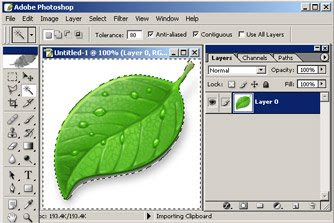
 We then take out our trusty magic wand tool and select the white around the leaf by clicking the white part around the leaf. In this cased I've used a tolerance of 80 to produce a decent result. You can play around with the tolerance depending on the image you choose to work with to get the selection border where you need it. In this case, our subject image has a dark shadow. Our tolerance of 80 has allowed the selection form to come in closer to the leaf, eliminating most of the shadow from the inside of the selection border as shown in the following image:
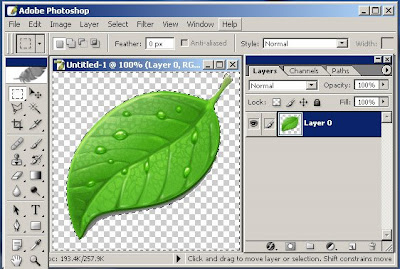
 Hit delete to produce the following:

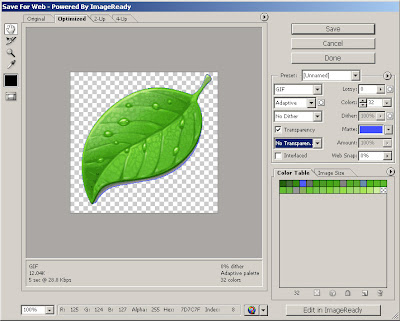
 Hit the save button, name your file and give it a home. That's It. Now this isnt the most professional or precise way of doing this, but if you need a quick easy design flow control with image backgrounds, this is the 5-step, 5-minute move to get you on your way.
Enjoy!
Commodore64 (The one you used to play Bruce Lee on)